Tokens
Tokens are authentication methods used as a second factor in authenticating an user's identity. there are a variety of token types that an user can enroll, from SMS or email tokens, to Google Authenticator tokens, to hardware tokens in the form of cards or tokens. Each user enrolls at least one token when registering for the system. each user must have at least one token active, regardless of its type. Not every function is available for every type of tokens.
Available actions for user with appropriate privileges: |
|
|
Register the new token. |
|
|
|
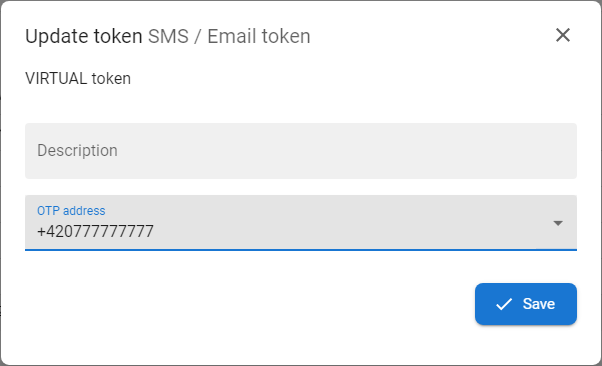
Modify user comment (if allowed) or mobile phone number for SMS token or email address for Email token. |
|
|
|
Permanently delete token. |
|
|
|
Test token to verify that it is working correctly. |
|
|
|
Reset of non-synchronous token. |
|
|
|
Disable or enable token - disabled token can't be used for verification as a second factor. |
|
|
[click on the row] |
Display the page with all details of the specific token. |


The list of available actions for the tokens depends on the type of the token and assigned privileges. E.g. SMS token can't be reseted due to its nature, or users from specific group can't delete the token due to company policy. The configuration is done on the administrator level.
Status of the token: |
|
ACTIVE |
|
The token is active and ready to be used for user identity verification (in login or approval processes). |
|
DISABLED |
|
The token is disabled and cannot be used to authenticate the user's identity. |
|
OBSOLETE |
|
Token is out of date and it needs to be deleted and registered another one. For example, if it is an SMS or EMAIL token, it is possible to delete it and replace it with a so-called Virtual token, which works exactly the same - based on sending an OTP to an email address or mobile phone. |


Adding a new token |
|
Enrollment of the tokens is slightly different from type to type. For detailed instructions visit page for the specific token: |
Click on the links to see the detail of the enrollment of specific token.
|
Modify an existing token |
|
1 |
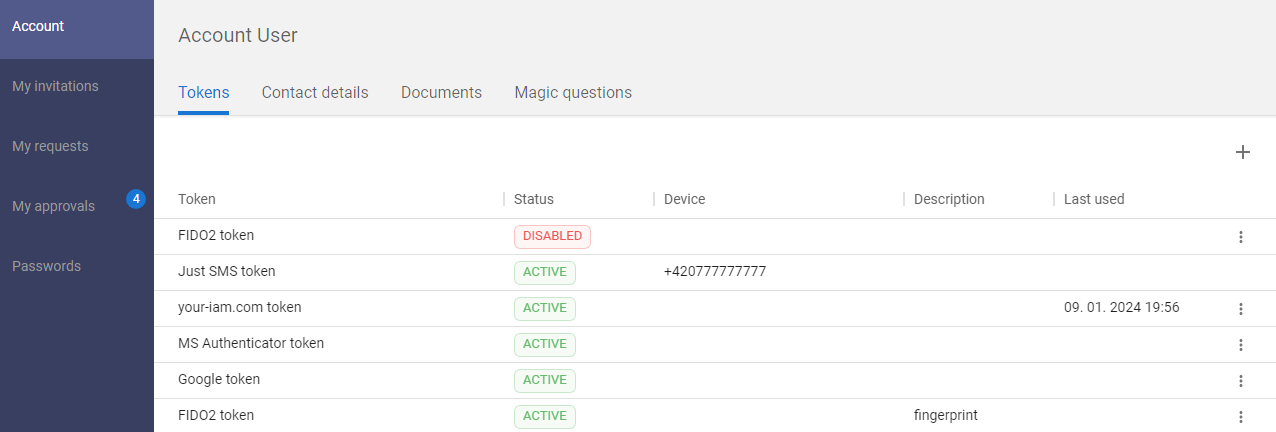
Open the Selfservice, go to the Account section and open the Tokens tab. |
|
|
2 |
Press the EDIT button [
|
|
|
3 |
A new form with the parameters of the token will be opened. |
|
|
4 |
Adjust the available parameters and press SAVE button to save the changes. |


Deleting a token |
|
1 |
Open the Selfservice, go to the Account section and open the Tokens tab. |
|
|
2 |
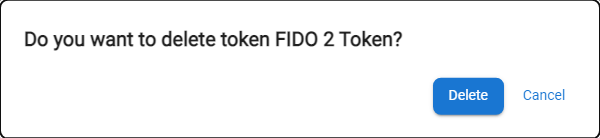
Press the DELETE button [
|
|
|
3 |
If the deletion is possible (and possibly approved) the token is removed from the list of tokens. |
|

Token test |
|
1 |
Open the Selfservice, go to the Account section and open the Tokens tab. |
|
2 |
Press the TEST button [ |
|
3 |
The application opens a new page for test of the token. All tokens have own test procedures: |
|
5 |
If everything is correct, you will see information about the successful test. |
|
6 |
If the token test result is negative, you can do any of the following: |

Token reset |
|
1 |
Open the Selfservice, go to the Account section and open the Tokens tab. |
|
|
2 |
Press the RESET button [
|
|
|
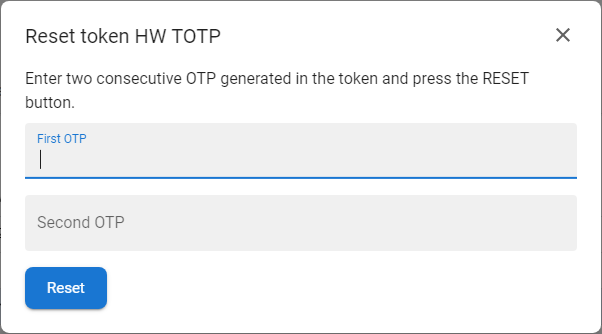
3 |
The token reset form will be opened. |
|
|
4 |
Generate two consecutive one-time passwords (OTP) from Google authenticator or a HW token key, enter them into the form and press RESET button.
|
|
|
5 |
If everything is correct, you will see information about the successful reset. |

Disable temporarily / enable token |
|
1 |
Open the Selfservice, go to the Account section and open the Tokens tab. |
|
|
2 |
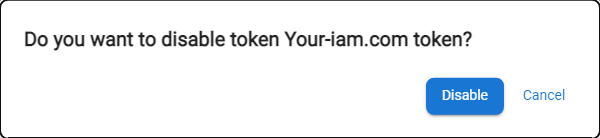
Press the DISABLE TEMPORARILY button [
|
|
|
3 |
The token will be disabled - the status will change to DISABLED - and it won't be possible to authorize by this token within the loging or any other operation. |
|


Display token detail |
|
1 |
Open the Selfservice, go to the Account section and open the Tokens tab. |
|
|
2 |
Select the desired token and mouse click on the selected row. |
|
|
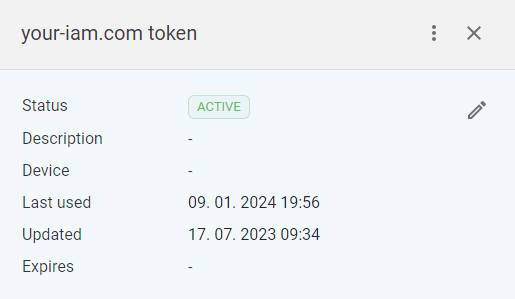
4 |
the drawer with the detail of the token will be opened:
|
|
|
5 |
Drawer also contains buttons for operations available for the token:
|