Dashboard
The Dashboard is the part of the application that displays predefined sets of data, application links, or other information that can be collected from the system and displayed in one of the widgets. By default, when the user opens the Dashboard section, the default dashboard is displayed. If there is no default dashboard defined, appropriate message is displayed. Otherwise, dashboard bookmarked as default in section All dashboard is displayed. If user has no dashboards created, appropriate message is displayed with possibility to create new dashboard either by clicking buttons in the table, or above the table. Otherwise user will see the list of dashboards.
Dashboards features:
- New screen used as a homepage will display the user dashboard/s.
- User can adjust personal dashboard or open prepared company dashboards
- Users with relevant privileges can create new dashboards and decide whether to publish them to other users (groups)
- user has possibility to create widgets with overview of secrets, connections, tokens etc.
Dashboards:
- are reorderable as long as default sorting is used
- are sortable
- are bookmarkable
- Single dashboard is selectable as default as long as dashboard is published
Dashboards statuses:
- DRAFT - newly created dashboard
- PUBLISHED - published to be officialy used by users
- PUBLISHED DRAFT in case published dashboard has some unpublished changes
Areas of documentation in Operational console: |
|
|
Describes how to create new dashboard a make him main or default dashboard for other users. |
|
|
|
Describes how to mark the dashboard as default - only for published dashboards |
|
|
|
Describes how to modify the dashboard. |
|
|
|
Describes how to delete the dashboard. |
|
|
|
Describes how to allow user to view dashboard on different platforms (from the resolution point of view) |
|
|
|
Describes how to change the dashboard name and description of the dashboard |
|
|
|
Describes how to set up and/or modify the permissions |


Creating and adjusting new dashboard |
|
1 |
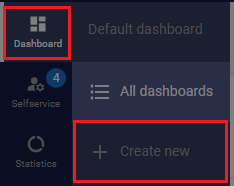
Open the Dashboard and go to the + CREATE NEW menu option option. |
|
|
2 |
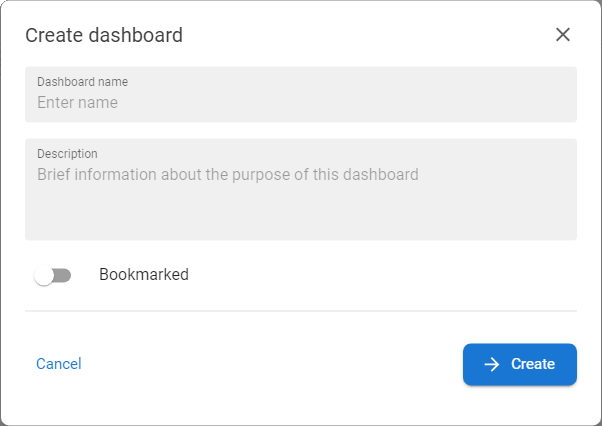
Create dashboard modal is opened. |
|
|
3 |
Fill in Dashboard name, which is required, optionally Description and if dashboard is bookmarked by default. And press CREATE button to save new dashboard. The new dashboard will be created with DRAFT status Note: Bookmarked means that it will appear in this part of the navigation and it will appear there to anyone who has permission to see it. So by default you bookmark it for everyone who can see it. Then a user can unbookmark it if doesn't want it there. |
|
|
4 |
Go to All Dashboards menu option in submenu to display the list of created dashboards. Mouseclick on the desired dashboard to open it (or user Edit button from the context menu from the list) |
|
|
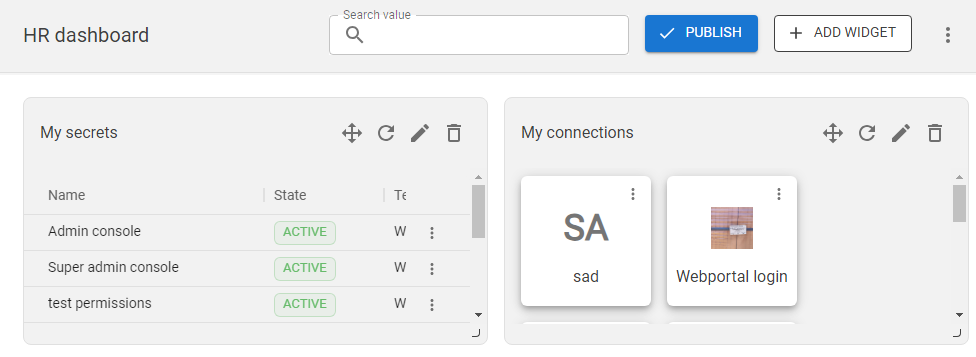
5 |
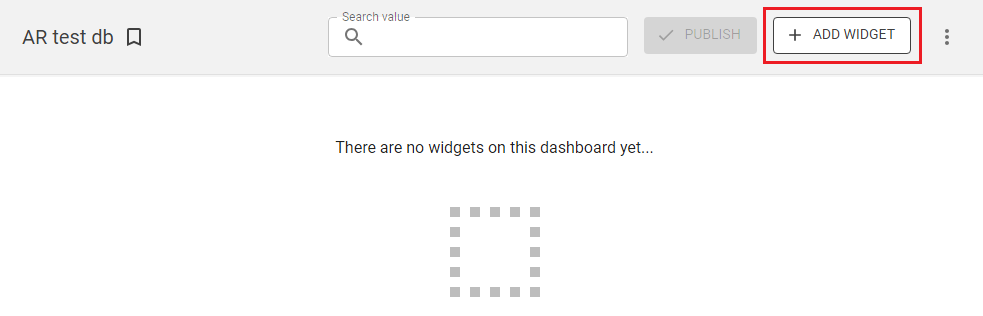
Press ADD WIDGET button to open the create widget modal. |
|
|
6 |
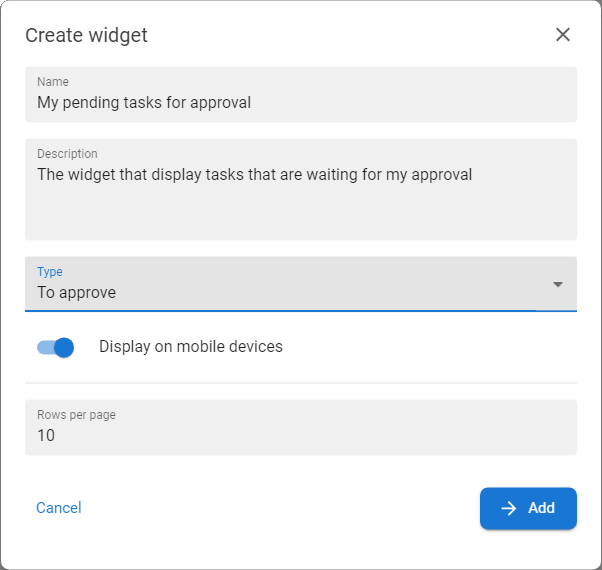
Insert Name and optionally the Description and select Type of the widget:
Note: all types have own set of additional attributes - for description of single attributes see relevant documentation (see links on the types). |
|
|
7 |
Check if this widget should be visible on mobile device. |
|
|
8 |
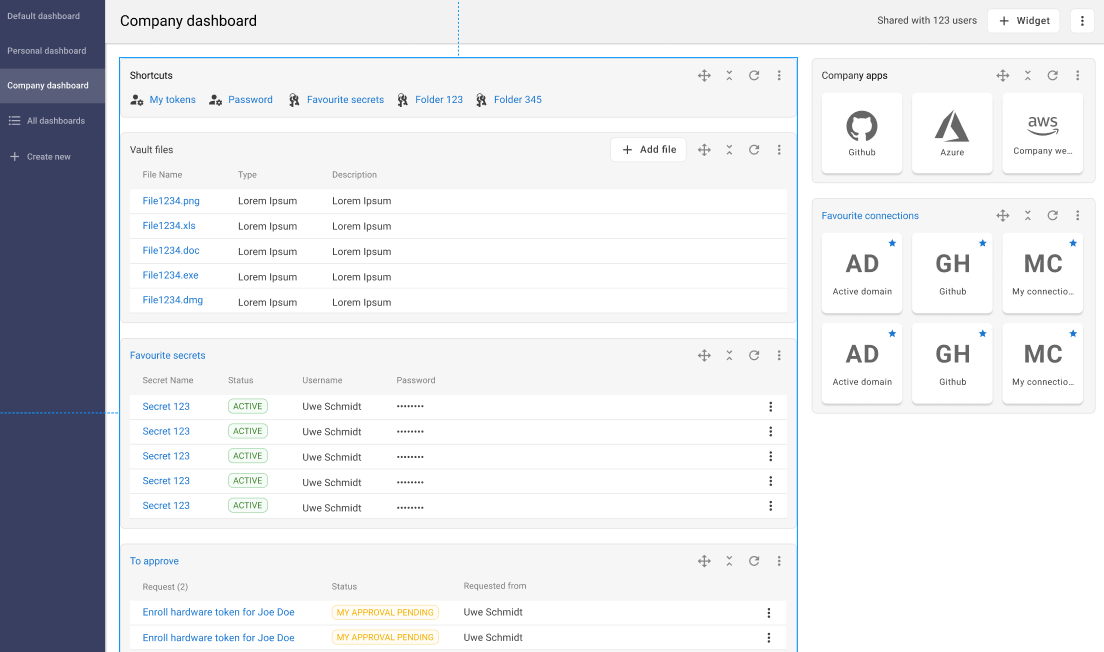
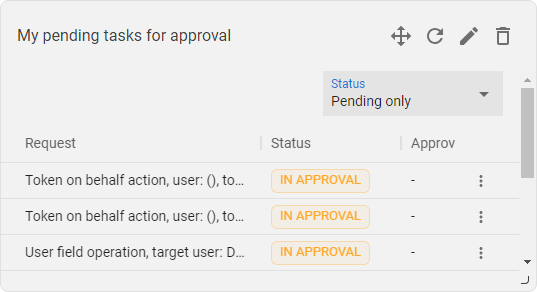
Press the ADD button to save the widget. The dashboard will be opened and new widget will automatically load the relevant data. |
|
|
9 |
Created widget can be moved [ |
|
|
10 |
When the dashboard is prepared, it could be published so all users can see it. Or it could be set as default so all users will see the dashboard as the landing page when comes to Selfservice. |


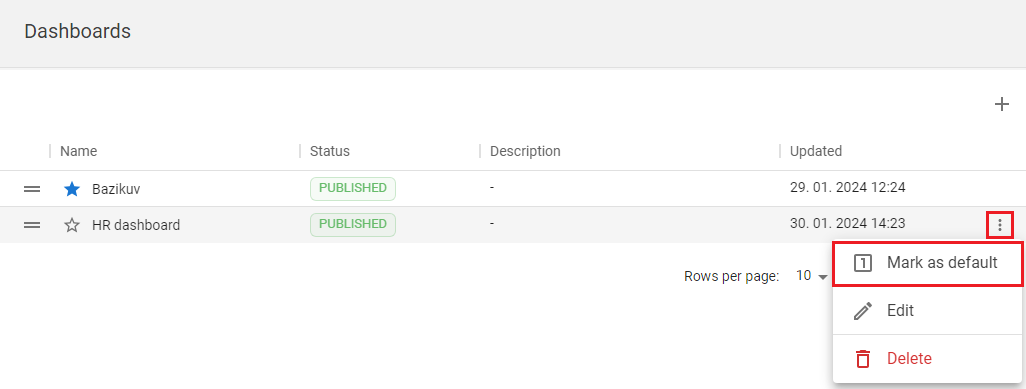
Mark dashboard as default dashboard |
|
1 |
Open the Dashboards menu option from Navigation menu and go to the All dashboards option. |
|
|
2 |
The list of available dashboards will be displayed. |
|
|
3 |
Mouseclick on the option MARK AS DEFAULT [ |
|
|
4 |
Dashboard will be marked as default one. The dashboard can also be unmarked by the same feature. |
|


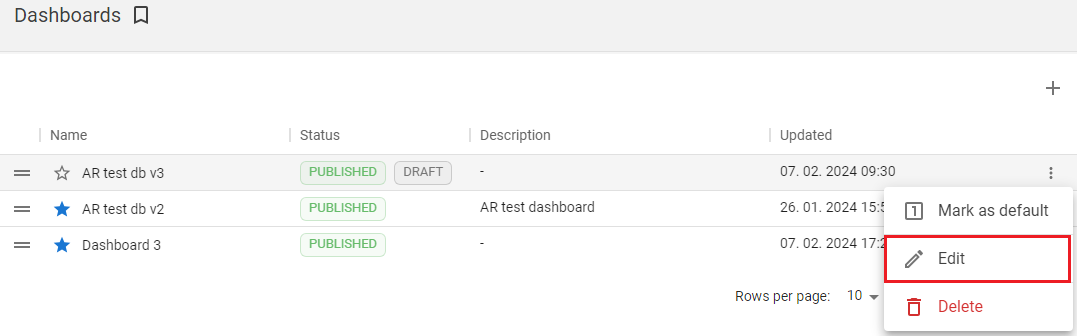
Modify the dashboard |
|
1 |
Open the Dashboards menu option from Navigation menu and go to the All dashboards option. |
|
|
2 |
The list of available dashboards will be displayed. |
|
|
3 |
Mouseclick on the option EDIT [ |
|
|
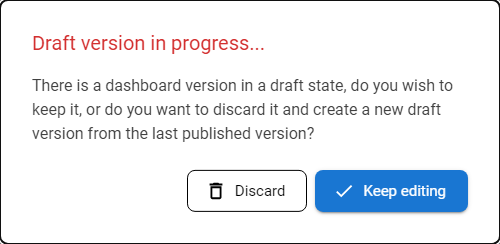
|
If the dashboard in PUBLISH + DRAFT status is going to be edited then the warning message is displayed. Discard means that all previously defined widgets and changes in widgets that were not published will be lost. While Keep editing will open the dashboard with all unpublished changes on the board. |
|
|
4 |
The dashboard will be opened in editation mode - made neccessary adjustments (add new widget, modify existing widgets, change layout...) |
|
|
5 |
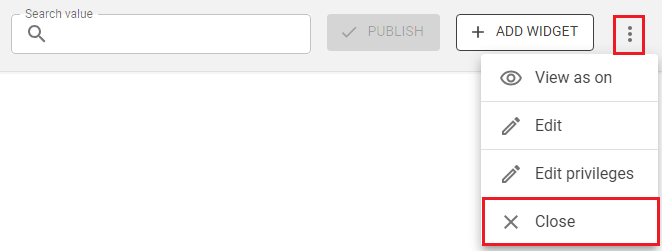
When the changes are done then press CLOSE button to save changes and to end the editation mode. |
|

Delete the dashboard |
|
1 |
Open the Dashboards menu option from Navigation menu and go to the All dashboards option. |
|
|
2 |
The list of available dashboards will be displayed. |
|
|
3 |
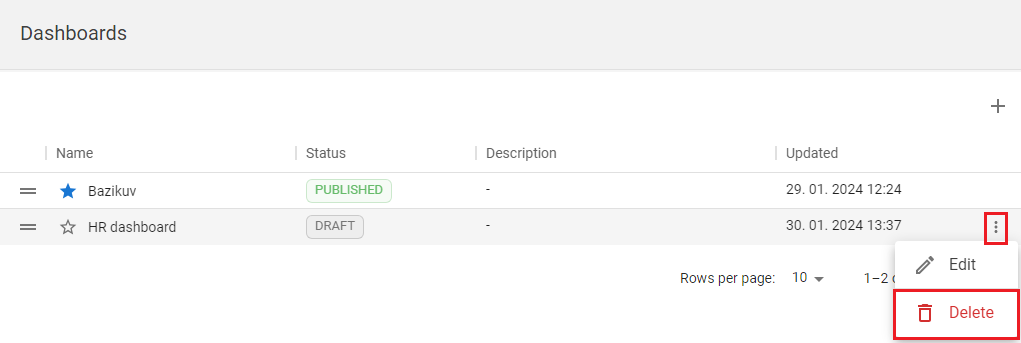
Mouseclick on the option DELETE [ |
|
|
4 |
Confirm the message by pressing the DELETE button and the dashboard will be deleted |

View dashboard on different platforms |
|
1 |
Open the Dashboards menu option from Navigation menu and go to the All dashboards option. |
|
|
2 |
The list of available dashboards will be displayed. |
|
|
3 |
Mouseclick on the row of the desired dashboard or EDIT [ |
|
|
4 |
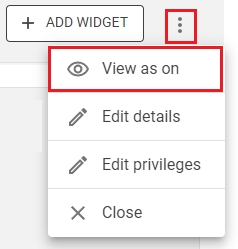
Open the context menu on the right top corner of the screen and choose the VIEW AS ON option. The system will display following options:
|
|
|
5 |
Choose any option and the dashboard will be visualized as it is opened in selected platform |
Edit details |
|
1 |
Open the Dashboards menu option from Navigation menu and go to the All dashboards option. |
|
|
2 |
The list of available dashboards will be displayed. |
|
|
3 |
Mouseclick on the row of the desired dashboard or EDIT [ |
|
|
4 |
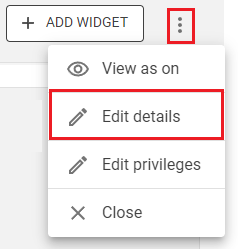
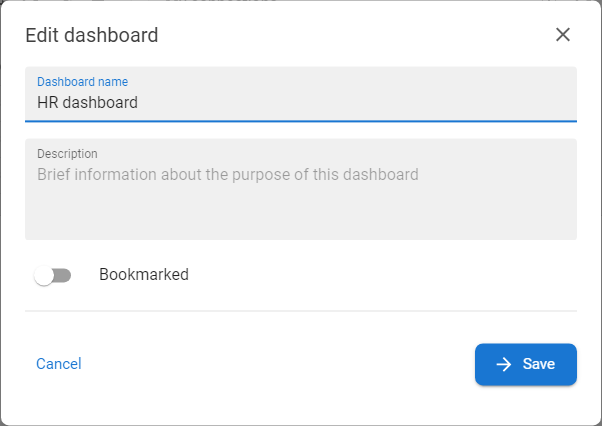
Open the context menu on the right top corner of the screen and choose the EDIT option. |
|
|
5 |
The Edit dashboard modal window will be opened. Adjust Name optionaly add Description or check the Bookmarked checkbox and press the SAVE button. |
|
Edit privileges |
|
1 |
Open the Dashboards menu option from Navigation menu and go to the All dashboards option. |
|
|
2 |
The list of available dashboards will be displayed. |
|
|
3 |
Mouseclick on the row of the desired dashboard or EDIT [ |
|
|
4 |
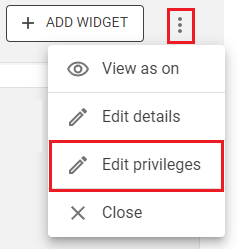
Open the context menu on the right top corner of the screen and choose the EDIT PRIVILEGES option. |
|
|
5 |
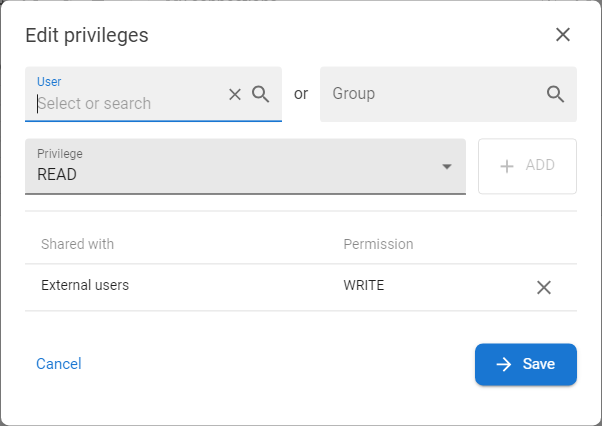
The Edit privileges modal window is opened. Permissions define the scope of user (directly or by group membership) who can work with the dashboard:
|
|
|
6 |
Adjust permissions and press button SAVE. |